White balance an image
Sometimes, after shooting a particular scene, you may want to make the entire image warmer (more yellow) or cooler (bluer). Or you might notice that an image looks too warm, too cool, or has a green or magenta tint that you’d like to remove. The White Balance adjustment lets you do just that — you can adjust the white balance manually, or automatically using the machine learning-powered ML adjustment. ML uses computer vision to recognize objects in the image (for example, people, trees, or a sky), and white balances it to remove any unnatural color tints.
You can white balance a single layer or, using a color adjustments layer, multiple layers in a composition.
Adjust the white balance of the currently selected layer#
- Choose Format > Color Adjustments > White Balance from the Format menu at the top of your screen.
- In the Tools sidebar, click the Color Adjustments
 tool and turn on White Balance.
 - Press
Aon your keyboard and turn on the White Balance adjustment.
White balance multiple layers in a composition#
- Choose Insert > Color Adjustments from the Insert menu at the top of your screen and turn on the White Balance adjustment in the Tool Options pane.
- Click
 at the top of the Layers sidebar, choose Color Adjustments, and turn on the White Balance adjustment.
 - Press
Shift ⇧+Command ⌘+Aon your keyboard, and turn on the White Balance adjustment.
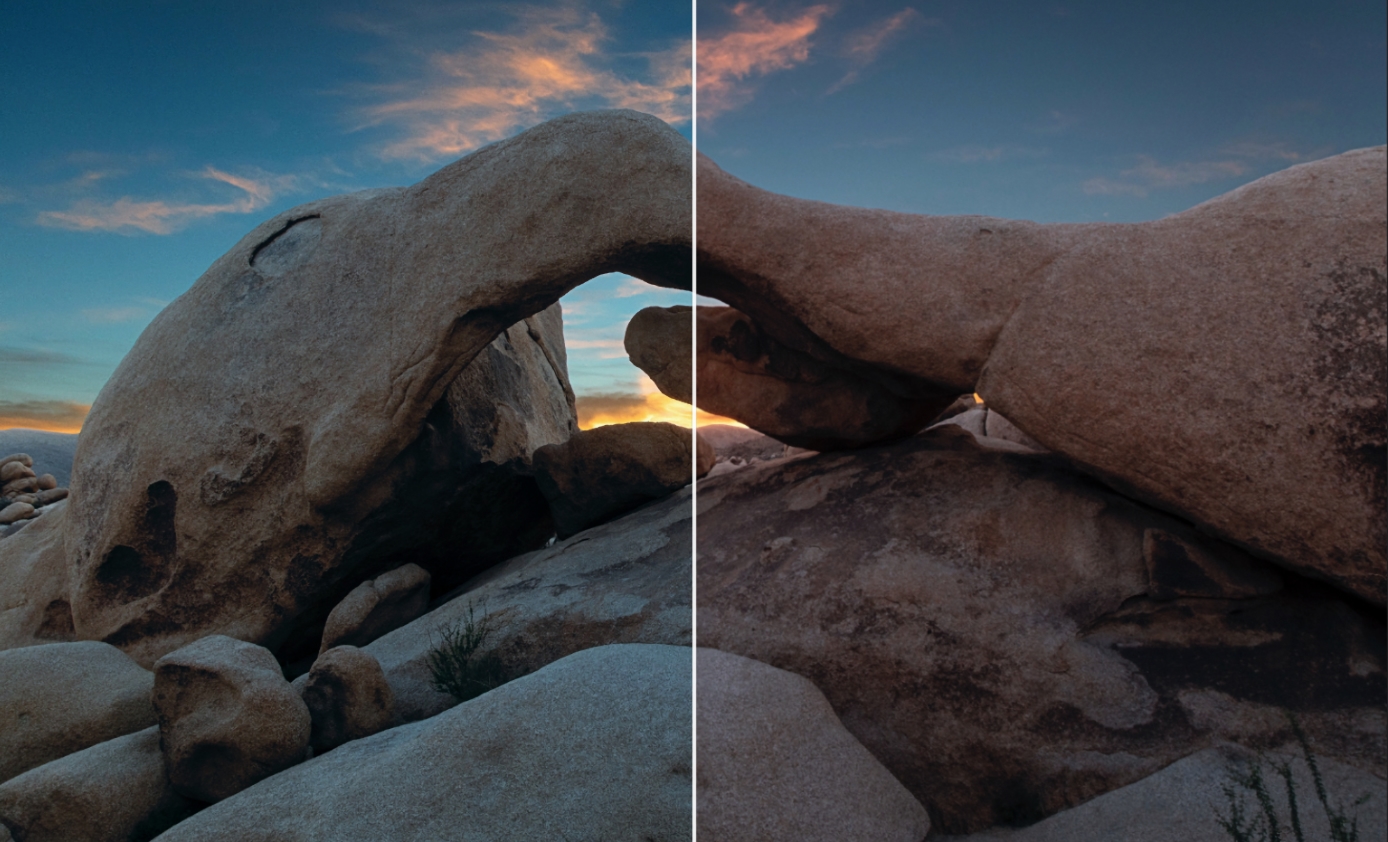
Manually adjust color temperature and tint#
- Drag the Temperature slider to the left to make the image cooler, or to the right to make it warmer. Press and hold the
Option ⌥key before dragging if you’d like to extend the range of the Temperature slider beyond 100%. You can also enter a percentage value from –200% to 200%. - Drag the Tint slider to the left to add a green tint (or neutralize a magenta tint) or drag the slider to the right to add a magenta tint (or neutralize a green tint). Press and hold the
Option ⌥key before dragging if you’d like to extend the range of the Tint slider beyond 100%. You can also enter a percentage value from –200% to 200%.
Automatically correct the white balance#
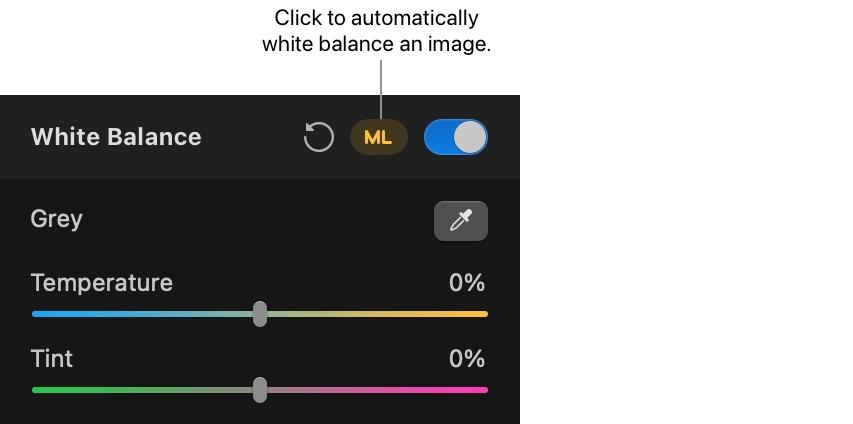
Click ML in the Tool Options pane next to the White Balance adjustment
White balance an image by choosing a neutral gray area#
Click the White Balance eyedropper and then click an area in your image that should be a neutral grey.
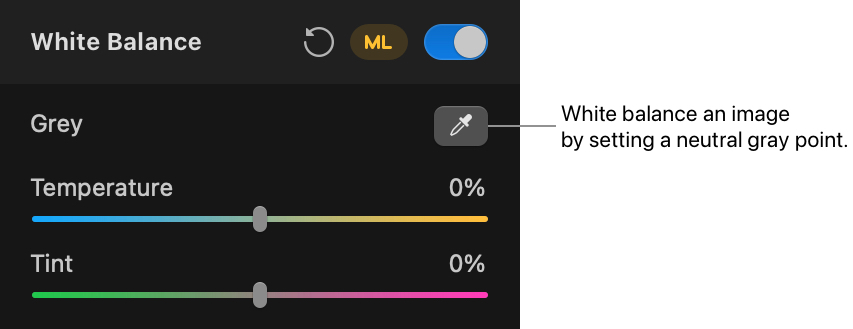
After doing this, you can manually fine-tune the automatic adjustments applied to your image by dragging the Temperature and Tint sliders.
Show before and after or reset adjustments#
Show Original: Click the Show Original button or press Control ⌃ + M on your keyboard to see what the image looks like without any color adjustments.
Show Split Comparison: Option ⌥ – click the Show Original button, press Control ⌃ + C on your keyboard, or force-click the canvas.
To reset all Color Adjustments, click Reset at the bottom of the Color Adjustments pane.