Color adjustment presets
Pixelmator Pro includes pre-made combinations of color adjustments called presets. These presets let you quickly give an image a certain look. In addition, you can add your own presets to save, reuse, and share the adjustment combinations you create.
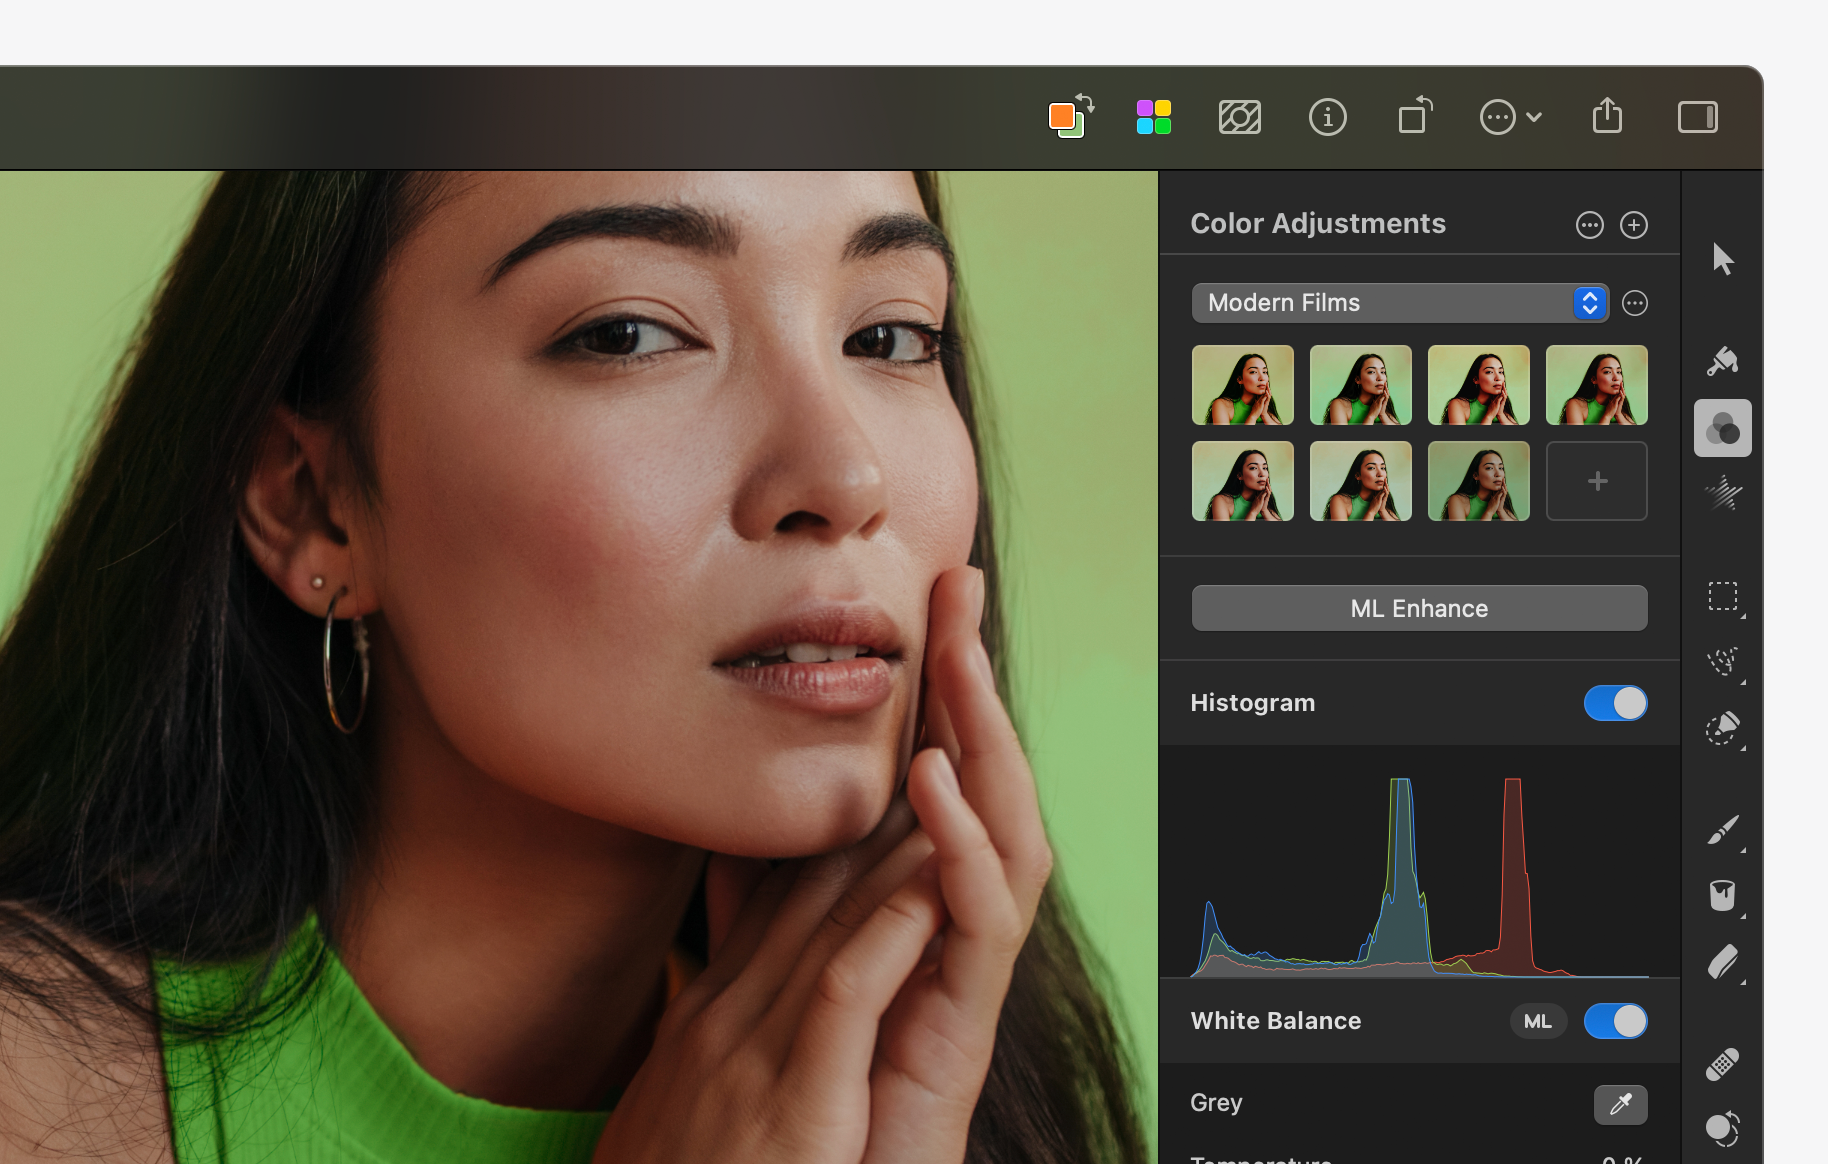
Apply a color adjustment preset#
- Do one of the following:
- In the Tools sidebar, click Color Adjustments
 .
. - Choose Tools > Color Adjustments from the Tools menu at the top of your screen.
- Press the
Akey on your keyboard.
- In the Tools sidebar, click Color Adjustments
- In the Layers sidebar, click to select the layer you’d like to edit.
- Choose a color adjustment preset from the list of presets at the top of the Tool Options pane, or click the Collection pop-up menu to browse other preset collections.
You can also fine-tune the adjustments applied to your image in the Tool Options pane.
Save a combination of color adjustments as a preset#
- Apply any number of adjustments to an image.
- Do one of the following:
- Click Add
 in any color adjustments collection to save the preset to that collection.
 - Click More
 next to the Collection pop-up menu and choose Add Preset.
- Click Add
Create a new color adjustment presets collection#
- In the Tools sidebar, click Color Adjustments .
- Click More next to the Collection pop-up menu and choose New Collection.
Customize color adjustment presets and preset collections#
Once you've created a preset or a preset collection, you can rename, redefine them, or share them with others.
- Share a color adjustment preset: Drag any of the presets out of Pixelmator Pro and onto the desktop or into a Finder window, then share the exported .adjustments file with someone else via email or any other way you like.
- Share a collection of color adjustment presets: Click More next to the Collection pop-up menu and choose Export. Share the exported .adjustments file with someone else via email or any other way you like
- Share your entire color adjustments library: Click More next to the Collection pop-up menu, then while pressing and holding the
Option ⌥key, choose Export All. Share the exported .adjustments file with someone else via email or any other way you like. - Redefine a color adjustment preset: If you’d like to overwrite or update an existing preset with new settings, you can redefine it. Apply and customize any number of color adjustments to a layer. In the list of presets,
Control ⌃– click a preset and choose Redefine "Preset". - Rename a color adjustment preset: In the list of presets,
Control ⌃– click a preset and choose Rename "Preset". - Rename a color adjustment presets collection: In the Collection pop-up, select the collection you want to rename. Click More next to the Collection pop-up menu and choose New Collection. Enter a new name and click Rename.
- Reset all color adjustment presets to default: Click More next to the Collection pop-up menu, press and hold the
Option ⌥key and choose Reset All. - Delete a color adjustment preset: In the list of presets,
Control ⌃– click a preset and choose Remove "Preset". - Delete a color adjustment presets collection: In the Collection pop-up, select the collection you want to remove, then click More next to the Collection pop-up menu and choose Remove.
- Show or hide presets: Drag the line that separates presets from the ML Enhance button up to hide the presets, or drag it down to reveal or expand the presets section.